| .. | ||
| keymaps | ||
| config.h | ||
| info.json | ||
| readme.md | ||
| rules.mk | ||
| thekey_v2.c | ||
| thekey_v2.h | ||
The Key V2
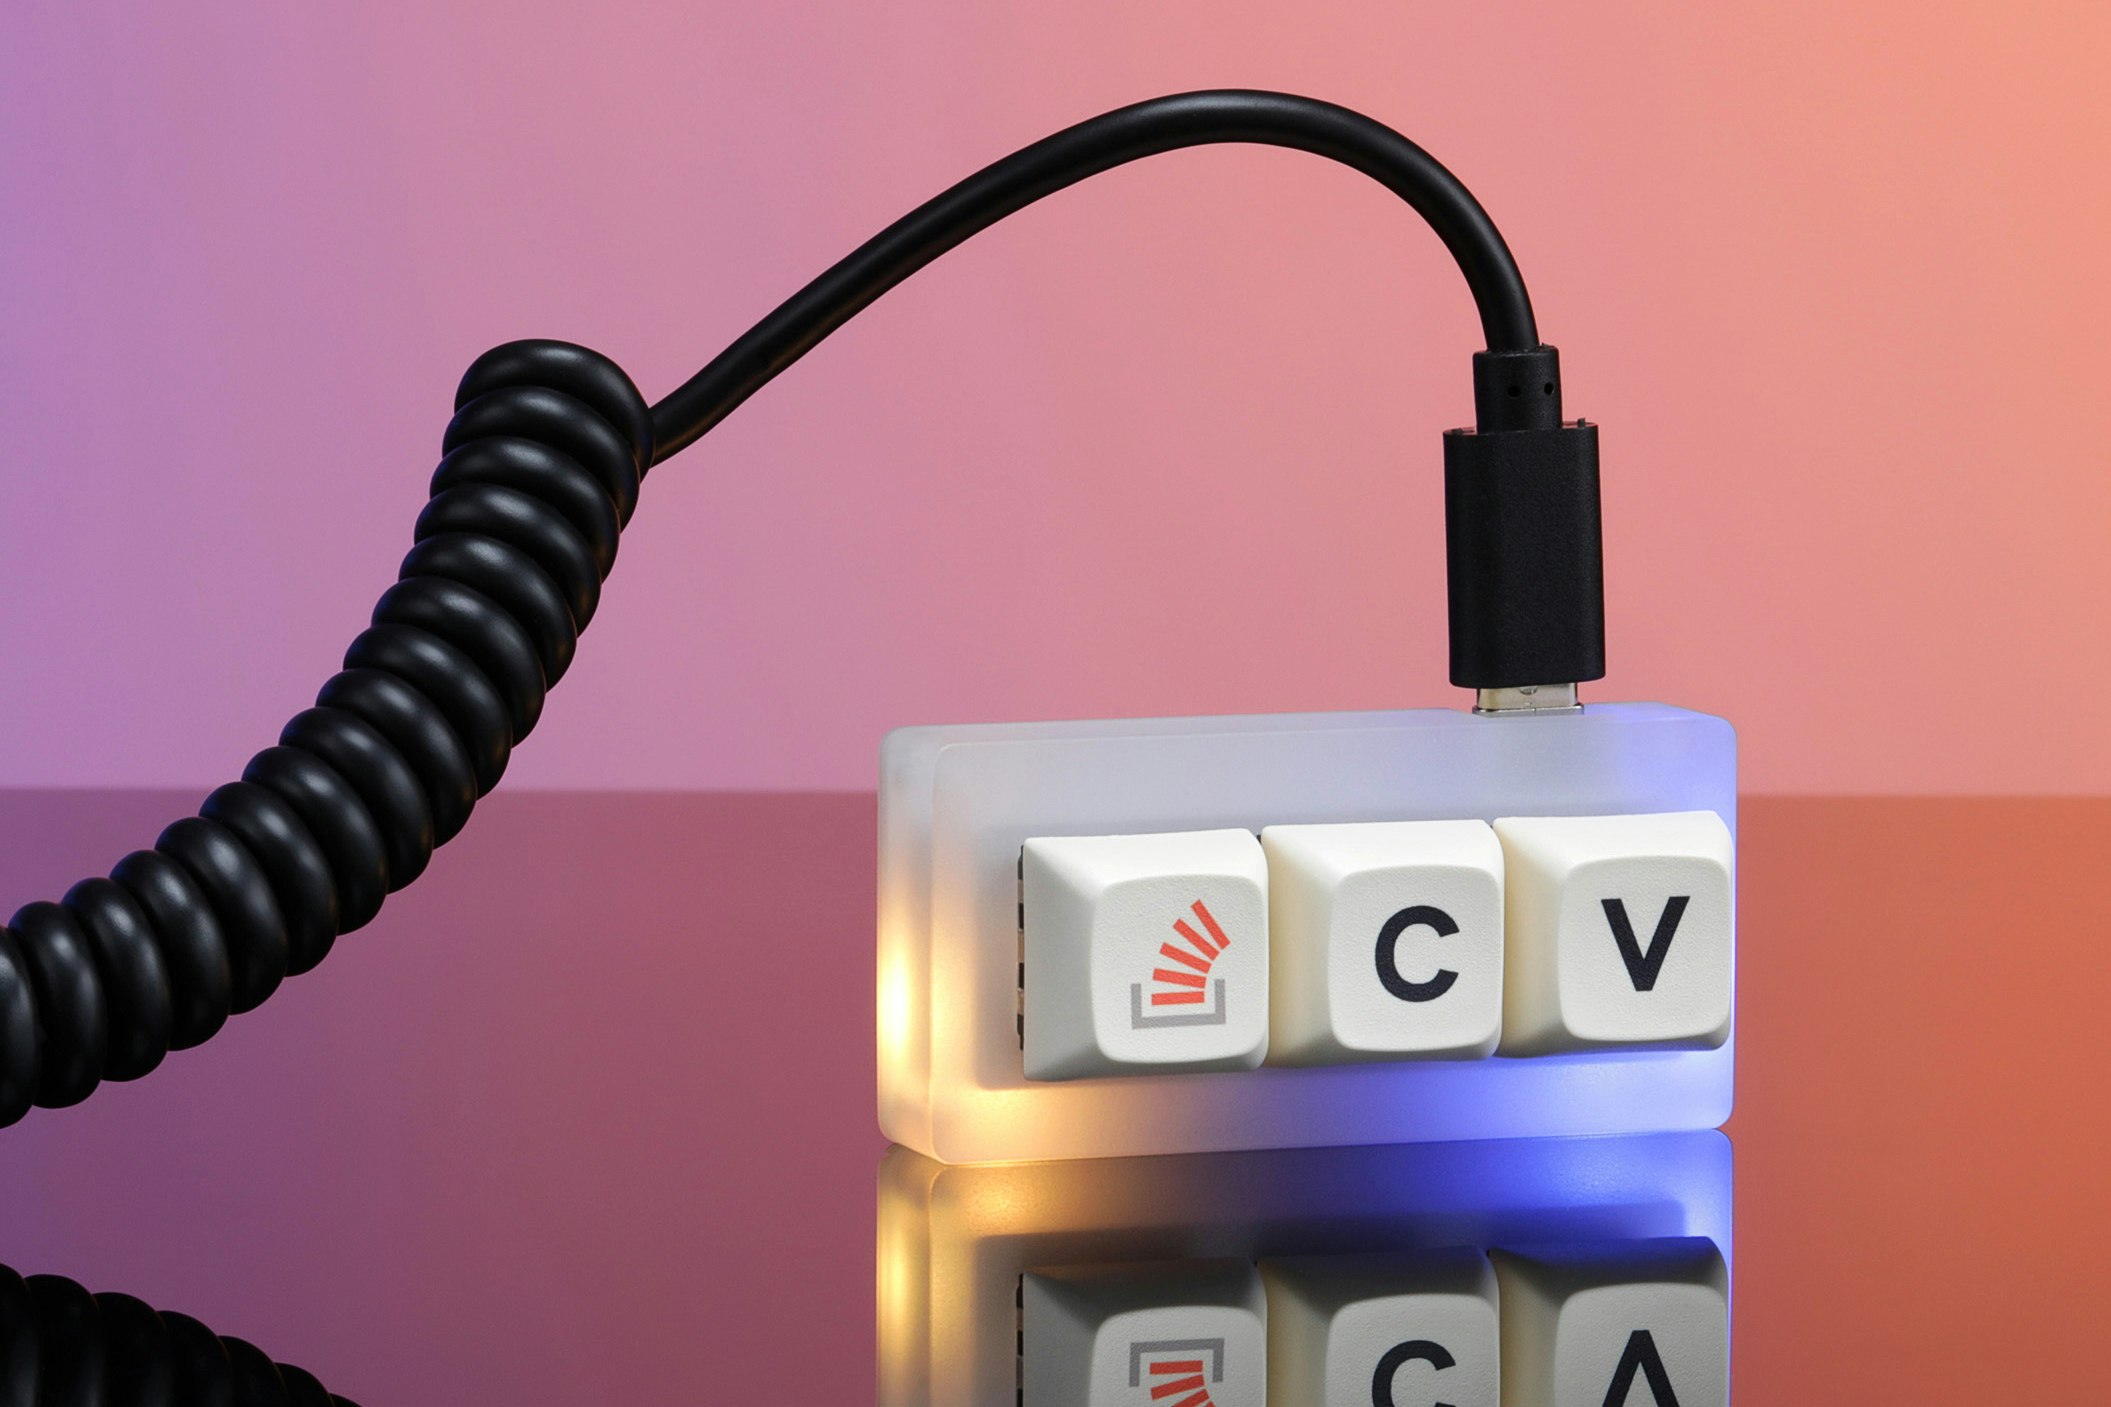
The Stack Overflow "The Key V2" is a 3 button macropad based on atmega32u4 with hot-swappble Kailh Black Box switches.
Last year, we brought Stack Overflow’s iconic April Fool’s joke to life. Advertised as the new (and only) way to copy and paste on the site, it was an ultra-compact macropad called The Key. The punchline-turned product was a huge hit, selling over 10K units and earning a nearly 5-star average review. Now, we’re back with a second act: The Key V2. The same size as its portable predecessor, this punchline-turned-product has a few notable changes—including an acrylic case to accent its two built-in RGB LEDs. Plus, we made it hot-swappable, so you can easily change out the switches for a truly custom experience. And just like the original, a portion of all proceeds from The Key V2 will go to the data-driven social startup digitalundivided.
Keyboard Maintainer: Drop / Massdrop
Hardware Supported: Massdrop, Inc. The Key V2
Hardware Availability: Limited Release - https://drop.com/buy/stack-overflow-the-key-v2-macropad
Make example for this keyboard (after setting up your build environment):
# default provided by Drop / Stack Overflow
make massdrop/thekey_v2:default
# common modification where C = CTRL+C, V = CTRL+V
make massdrop/thekey_v2:url-copy-paste
Flashing example for this keyboard:
# install in dfu mode
make massdrop/thekey_v2:default:dfu
See the build environment setup and the make instructions for more information. Brand new to QMK? Start with our Complete Newbs Guide. Make example for this keyboard (after setting up your build environment):
Bootloader
Enter the bootloader as follows:
- Bootmagic reset: Hold down the "Stack Overflow" key, the "left-most" or furthest from the USB plug while inserting the USB cable for a few seconds. The LEDs will NOT turn on.
- Physical reset button: Briefly press and hold the reset button while pluggin in the USB port. The LEDs on the back will NOT turn on. Depending on your case revision, you may have to remove the 4 screws on the back plate to access the switch OR you can use the associated access hole on newer releases.
